
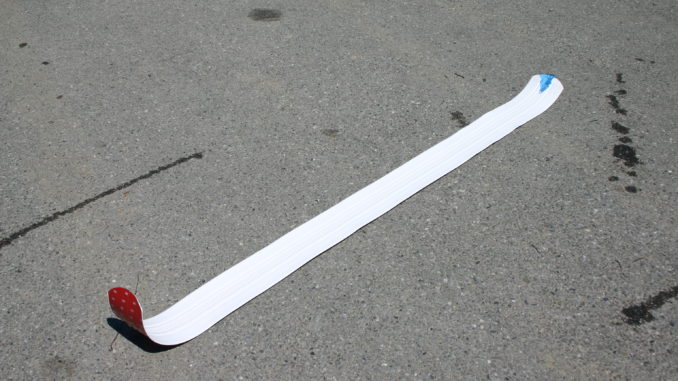
If you like beaching or if you frequently put your boat on the bank, you will certainly have noticed that your bow receives strokes and scratches. To avoid this, the right solution is to install a bow protection band. It is an inexpensive and simple operation to achieve with this model from Keelguard.
1 – Install your workspace
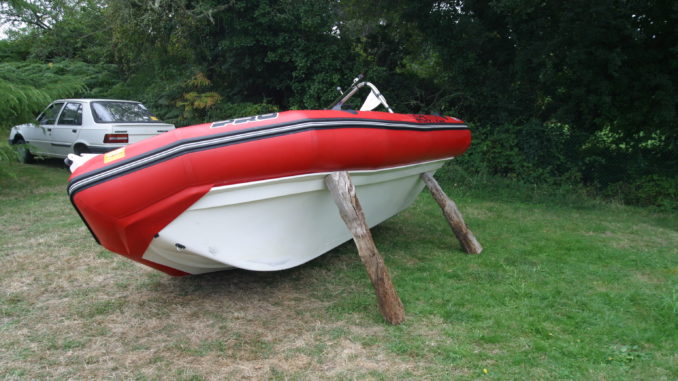
Start by installing your workspace. It must be clean, sufficiently ventilated and, in windy conditions, protected from dust. If you are outside, you can for example stretch a tarp on the ground. As the name suggests, this protection is only for the bow. It is not necessary to cover it entirely, but you can. To settle comfortably, you can for example put the boat on the side by stalling to clear the bow or disassemble the first support of the trailer to clear the front.
While you install the boat, if the weather is nice, you can leave the strip unwound in the sun for a few minutes or even a few hours if necessary. Placing it above a heater so that it softens will make it easier.
2 – Clean the hull
Start by cleaning the hull of your boat and you will see more clearly. The best product is soapy water and the best tool, a good sponge, but if necessary use a pressure washer.
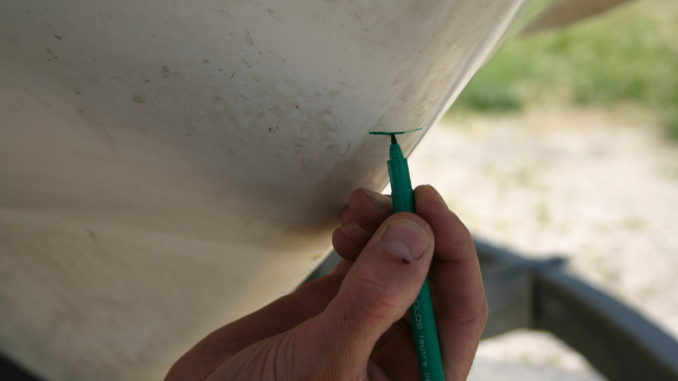
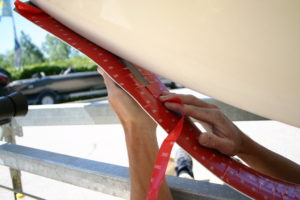
3 – Delimit the work area
Before sanding, carefully mark the location where the Keelguard band will stick. This helps to avoid degrading the gel coat next to the protective strip. For this, you can trace the location with a pencil or better, a piece of tape.
4 – A good scraping
In case there is antifouling or painting, it is necessary to scrape the coating where the protective strip will stick.

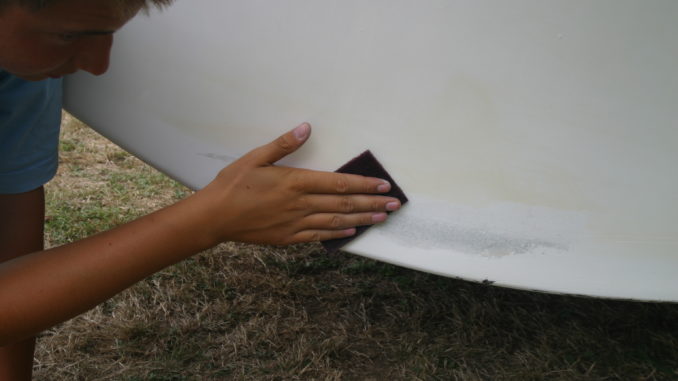
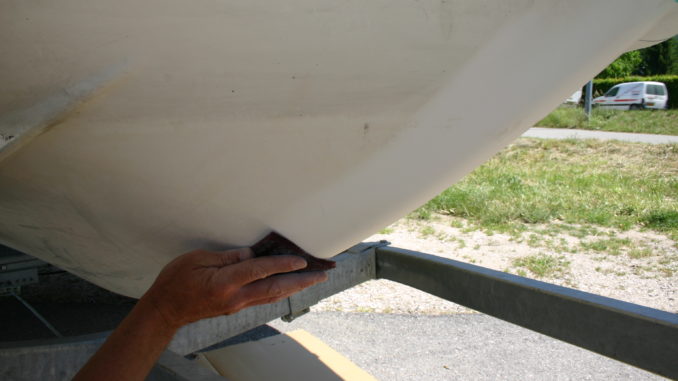
5 – Sand the hull
Without antifouling or painting, your hull must be sanded to remove the hard and shiny gel coat. This operation will provide a smooth and unified surface. It is useless to go until the fiber. The goal is simply to find adhesion. You can use the pad provided in the kit or sandpaper and sanding block for this purpose.
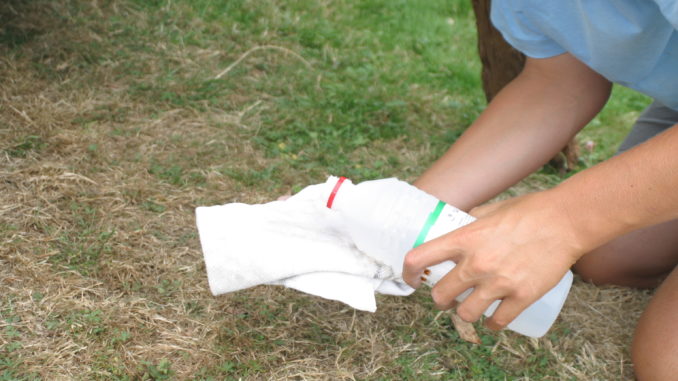
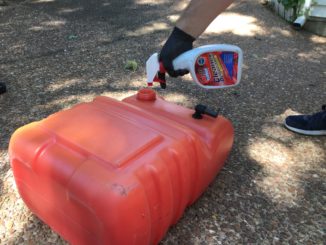
6 – Degrease the hull
After sanding, you have to finish the preparation by degreasing. Start with a simple rag, then wipe with another rag soaked in acetone.
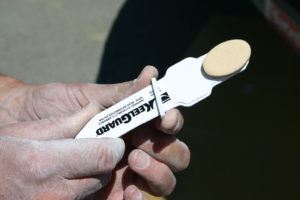
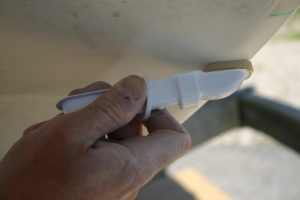
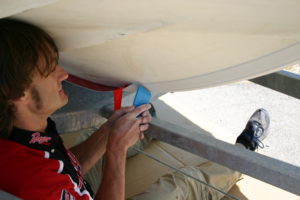
7 – Apply the primer
To ensure maximum adhesion to the shell, a primer must be applied. This primer, by chemical reaction, will ensure almost indestructible bonding. The primer is supplied in the application kit in a container with applicator pads. To use it, you have to break the inner bulb by sliding the ring across. Then, you only have a few minutes for the application. Quickly spread the primer in a thin and regular layer.
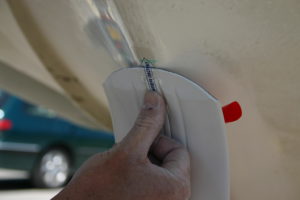
8 – Glue the central part
To make the installation easier, the protective film of the adhesive is in three parts. We start by removing the central part of the film on about 2.5 ft (80 cm). Then, using the markers, we position the band on the central part. It is better to start from the top. Once the first 1.5 ft (50 cm) are glued, we continue to remove the film and apply the central part to the end of the strip.
9 – Glue the sides
When the central part is applied, stick on the sides, always starting from the center and moving to the outside. The adhesion is immediate and there is no second chance, so you must apply it carefully. As for the central part, progress is made by gradually removing the protective film and flattening it with the palm of your hand.

10 – Switch to smoothing
Once the band is in place, you have to smooth down the strip to stick over the entire surface and get rid of any air bubbles. We first use the hand, then the spatula. We always go from the center to the side and do not hesitate to use some force, if necessary, because the band is very adherent.

How much does it cost ?
Several products exist on the market and the qualities are different. On this particular occasion, we used a Keelguard keel protector. You can find different sizes ranging in price from $120 to $270 and the product is available in 14-30 ft long dimensions.

The necessary equipment

- Several clean rags
- Sandpaper
- A sanding block
- Acetone
- A paper pencil
- Paper tape
- A soft and strong spatula
- A box cutter
Leave a Reply